Homemade Reese's Brownie Cups
Highlighted under: Family Baking Recipes
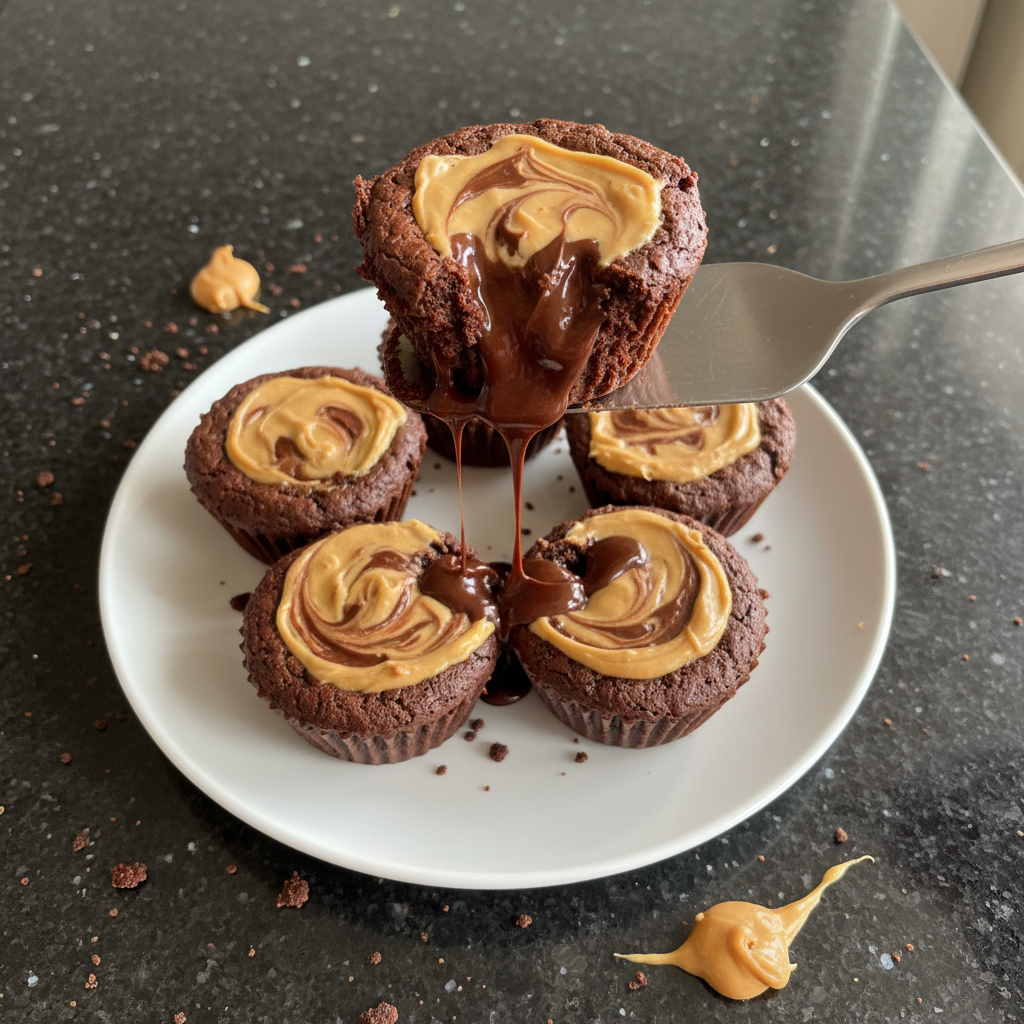
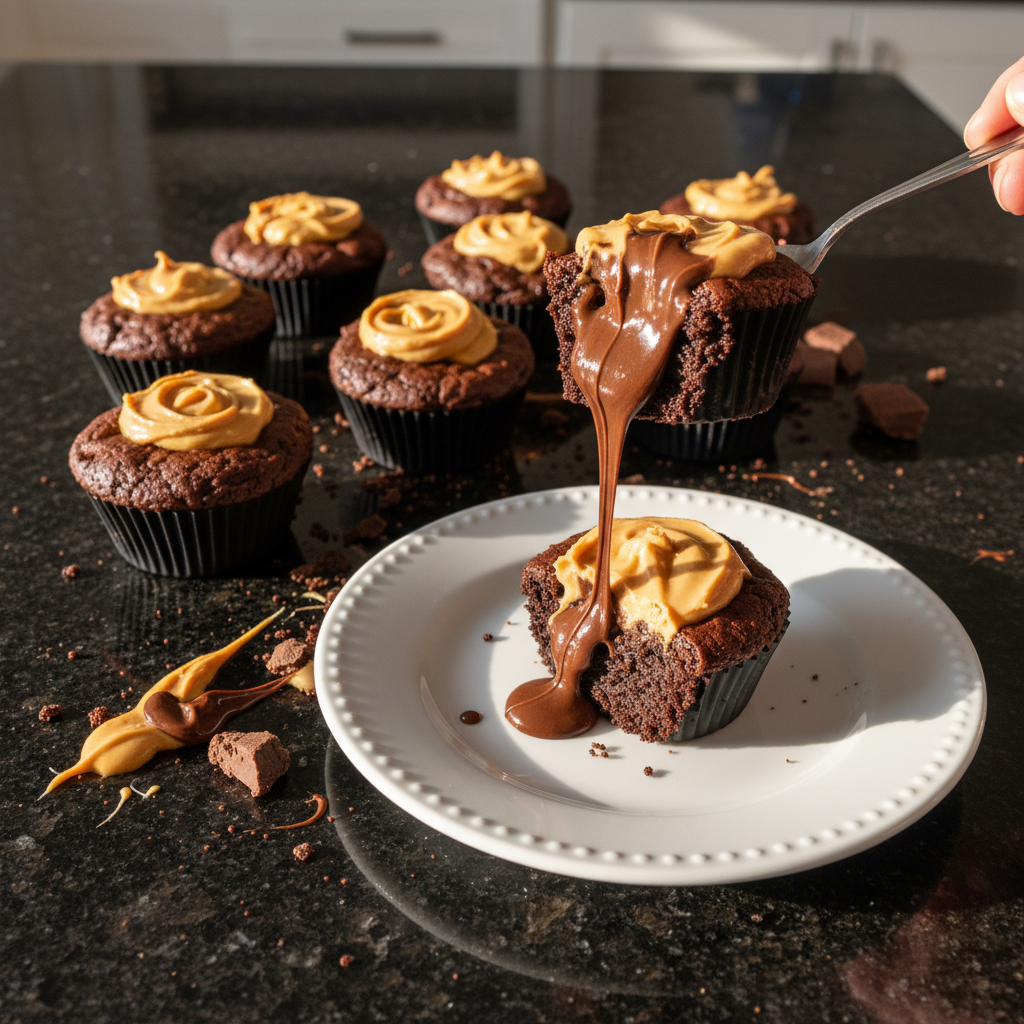
I love making treats that combine my favorite flavors, and these Homemade Reese's Brownie Cups are no exception. With a rich chocolate brownie base and a creamy peanut butter filling, they are a delightful indulgence. Every bite is a satisfying blend of sweetness and texture that the whole family enjoys. Plus, they’re easy to make and perfect for parties or a cozy night in. You just can’t go wrong with chocolate and peanut butter, right?
When I first made these Homemade Reese's Brownie Cups, I was amazed at how simple and satisfying they turned out. I wanted to create a dessert that brought together the flavors of classic brownies with the creamy goodness of peanut butter. The combination is truly irresistible and a hit with both kids and adults!
One tip I discovered is to slightly underbake the brownie layer for a fudgier texture. The peanut butter filling complements the brownie perfectly, and once you add a layer of chocolate on top, you are in for a real treat. Trust me; you’ll want to keep this recipe on hand!
Why You'll Love This Recipe
- Rich chocolate flavor paired with creamy peanut butter filling
- Chewy brownie texture that satisfies every sweet tooth
- Perfect for sharing during celebrations or treat yourself!
- Easy to customize with different toppings or fillings
Perfecting Your Brownie Base
The brownie base is crucial to the overall success of these Reese's Brownie Cups. Using unsalted butter allows you to control the saltiness, enhancing the rich flavor of chocolate without overwhelming it. When melting the butter, do so over low heat to ensure a smooth mixture, avoiding any separation. The combination of granulated sugar and eggs creates a delightful structure, while the cocoa powder adds depth. Whisking until the mixture is glossy indicates that the sugar is fully dissolved, resulting in a fudgy, chewy texture.
It's essential not to overmix once you incorporate the dry ingredients. Overmixing can lead to tougher brownies, which might not hold the creamy peanut butter filling as well. Aim for a thick batter that’s well combined but still slightly lumpy. Once in the muffin tin, check for doneness at the 10-minute mark. The edges should appear set while the centers might still look a bit soft; this is normal as the brownies continue to firm up as they cool.
Crafting the Peanut Butter Filling
The peanut butter filling adds a deliciously creamy contrast to the rich brownie base. Using creamy peanut butter ensures a smooth texture that easily spreads over the brownie tops. If you're looking for a healthier alternative, natural peanut butter can be substituted, though it may be slightly runnier, so adjust the powdered sugar to achieve a thicker consistency. Mixing until smooth is key, as any lumps will affect the mouthfeel of your treats.
Don’t skip the powdered sugar! It sweetens the filling while also helping to stabilize the mixture, giving you that iconic Reese's flavor. If you'd like a little crunch, consider folding in some chopped peanuts or using crunchy peanut butter. This small tweak not only intensifies the flavor but also adds a delightful texture that complements the brownie base beautifully.
Finishing Touches with Chocolate Topping
The final drizzled chocolate topping is what really brings these brownie cups to life. Melting the chocolate chips with a bit of vegetable oil ensures the melted chocolate is glossy and easy to work with. Be sure to melt in short intervals, stirring frequently. If the chocolate seizes and becomes grainy, adding a touch more oil can help restore its smooth consistency. Aim for a melted state that’s pourable but not too hot to avoid melting the peanut butter filling beneath.
Feel free to customize the chocolate topping by using dark chocolate or even white chocolate for a different flavor profile. For an extra flair, consider sprinkling a few sea salt flakes on top of the chocolate while it’s still warm. The contrast of salty and sweet will elevate these brownies further, making them even more irresistible.
Ingredients
Gather these simple ingredients to get started:
Brownie Base
- 1/2 cup unsalted butter
- 1 cup granulated sugar
- 2 large eggs
- 1 teaspoon vanilla extract
- 1/3 cup unsweetened cocoa powder
- 1/2 cup all-purpose flour
- 1/4 teaspoon salt
- 1/4 teaspoon baking powder
Peanut Butter Filling
- 1/2 cup creamy peanut butter
- 1/4 cup powdered sugar
- 1/4 teaspoon vanilla extract
Chocolate Topping
- 1/2 cup semi-sweet chocolate chips
- 1 teaspoon vegetable oil
With these ingredients on hand, you’ll be ready to create your own sweet delight!
Instructions
Follow these steps to make your Homemade Reese's Brownie Cups:
Preheat and Prepare
Preheat your oven to 350°F (175°C) and grease a muffin tin.
Make the Brownie Batter
In a medium saucepan over low heat, melt the butter. Remove from heat and stir in sugar, eggs, and vanilla. Mix in cocoa powder, flour, salt, and baking powder until well combined.
Bake the Brownies
Spoon about a tablespoon of brownie batter into each muffin cup. Bake for 10-12 minutes or until a toothpick comes out with a few crumbs.
Prepare the Filling
In a bowl, combine the peanut butter, powdered sugar, and vanilla until smooth. Once the brownie cups have cooled, spoon a dollop of peanut butter filling on top of each.
Add the Chocolate Topping
In a small bowl, melt the chocolate chips with vegetable oil in the microwave, stirring every 30 seconds until smooth. Drizzle the melted chocolate over each cup.
Cool and Serve
Let the cups cool completely before carefully removing them from the muffin tin. Enjoy your delicious treats!
Now, sit back and enjoy every delicious bite of your Homemade Reese's Brownie Cups!
Pro Tips
- For a fun twist, try adding crushed graham crackers on top of the chocolate layer for added crunch.
Make-Ahead and Storage Tips
These Homemade Reese's Brownie Cups can be made a day in advance, making them a convenient treat for gatherings. Once completely cooled, store them in an airtight container at room temperature for up to two days. For longer storage, consider refrigerating them, which can extend their freshness up to a week. Just be sure to allow them to come to room temperature before enjoying; this will enhance the flavors and the creamy peanut butter filling.
If you want to enjoy these treats over an extended period, freezing is a great option. Wrap the brownie cups individually in plastic wrap and place them in a freezer-safe bag. They can be frozen for up to three months. Just thaw them in the refrigerator overnight before serving. This makes them an excellent option for surprise visitors or last-minute dessert needs, ensuring you always have a delightful treat on hand.
Variations and Customization Ideas
While the classic combination of chocolate and peanut butter is hard to beat, don’t hesitate to get creative! Consider adding a layer of caramel sauce beneath the peanut butter filling for an added layer of richness. Alternatively, if you prefer a white chocolate twist, substitute some of the semi-sweet chocolate with white chocolate chips. You can also add a touch of espresso powder to the brownie batter for a mocha flavor that pairs wonderfully with peanut butter.
Toppings are another area for customization. After drizzling the chocolate, sprinkle with crushed pretzels for a sweet and salty combo or drizzle with a flavored syrup like caramel or raspberry for a burst of color and flavor. Each variation can give these brownie cups a new life, impressing guests with your baking creativity every time!
Questions About Recipes
→ Can I use chunky peanut butter?
Yes, chunky peanut butter can add additional texture, but make sure it mixes well with the sugar.
→ How do I store leftover cups?
Store them in an airtight container at room temperature for up to 3 days, or in the refrigerator for up to a week.
→ Can I freeze these brownie cups?
Absolutely! Just wrap them individually in plastic wrap and place them in a freezer bag for up to a month.
→ What can I use instead of eggs?
You can substitute eggs with unsweetened applesauce or a flax egg if you want a vegan option.
Homemade Reese's Brownie Cups
Created by: The Nutrimealsource Team
Recipe Type: Family Baking Recipes
Skill Level: Easy
Final Quantity: 12 cups
What You'll Need
Brownie Base
- 1/2 cup unsalted butter
- 1 cup granulated sugar
- 2 large eggs
- 1 teaspoon vanilla extract
- 1/3 cup unsweetened cocoa powder
- 1/2 cup all-purpose flour
- 1/4 teaspoon salt
- 1/4 teaspoon baking powder
Peanut Butter Filling
- 1/2 cup creamy peanut butter
- 1/4 cup powdered sugar
- 1/4 teaspoon vanilla extract
Chocolate Topping
- 1/2 cup semi-sweet chocolate chips
- 1 teaspoon vegetable oil
How-To Steps
Preheat your oven to 350°F (175°C) and grease a muffin tin.
In a medium saucepan over low heat, melt the butter. Remove from heat and stir in sugar, eggs, and vanilla. Mix in cocoa powder, flour, salt, and baking powder until well combined.
Spoon about a tablespoon of brownie batter into each muffin cup. Bake for 10-12 minutes or until a toothpick comes out with a few crumbs.
In a bowl, combine the peanut butter, powdered sugar, and vanilla until smooth. Once the brownie cups have cooled, spoon a dollop of peanut butter filling on top of each.
In a small bowl, melt the chocolate chips with vegetable oil in the microwave, stirring every 30 seconds until smooth. Drizzle the melted chocolate over each cup.
Let the cups cool completely before carefully removing them from the muffin tin. Enjoy your delicious treats!
Extra Tips
- For a fun twist, try adding crushed graham crackers on top of the chocolate layer for added crunch.
Nutritional Breakdown (Per Serving)
- Calories: 320 kcal
- Total Fat: 21g
- Saturated Fat: 8g
- Cholesterol: 35mg
- Sodium: 130mg
- Total Carbohydrates: 28g
- Dietary Fiber: 2g
- Sugars: 18g
- Protein: 5g